FLOGOS, short for flying or floating logos, Are helium filled foams that float. Forced through stencils, they can take on a wide range of shapes and are popular advertising devices at public events. Commercial units are large, complicated and expensive. This page shows how to make a smaller, more modest version for home use.
Here's the rig I use to create my own Flogos:
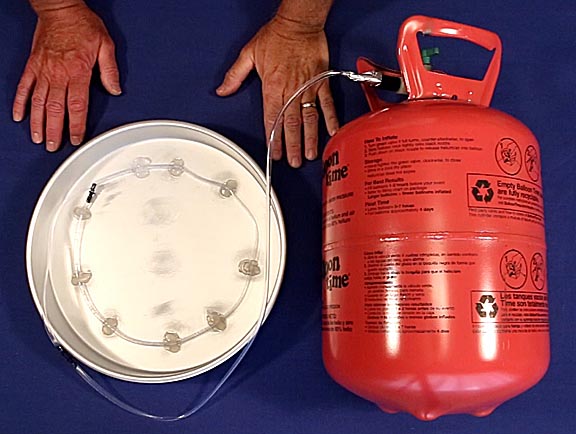
For DIY Flogo machines, I found wide shallow pans worked better than tall narrow vessels. A 12-inch diameter cake pan was perfect. Fine aerators like aquarium bubble stones produce such fine foams that even when filled with helium they don't float because they contain too much bubble solution. Increasing the bubble size helps, but if too large, for example if helium exhausts through the open end of a 1/4-inch diameter air line, the bubbles are short lived and the foam unstable. I found melting holes in vinyl air line tubing by heating a standard pin under a stove flame for a few seconds produced the perfect foam.
The holes should be spaced 1/2 to 3/4-inches apart at the start of the length of hose that creates the foam, then slowly get closer as they near the end of the line. This compensates for the pressure loss along the tube's length, ensuring the foam is produced evenly. If one side grows faster than the other, instead of a rising column of foam it can curve over.
To attach the tube to the bottom of the pan, roughen areas with sandpaper, gently warm the pan then use a hot glue gun. A slightly warmed pan helps the glue adhere to the metal.
Use a pair of needle nose pliers to stretch the end of the tube wider so it fits over the end of the rubber valve that controls the feed from the helium tank. Secure it with tape.
The cheapest source of helium available to most do-it-your-selfers is the tank included with helium balloon kits sold in many variety and party stores for $20. Start with the valve turned barely on. If it's opened all the way I may blow the tube off the fill valve. As the tank's pressure declines, open the main valve more to compensate.
All that's left to do is fill the pan with a mixture of one part commercial bubble solution and eight parts water. Using pure bubble solution results in a foam that may be too heavy to float.
After that, it's time to make Flogos!
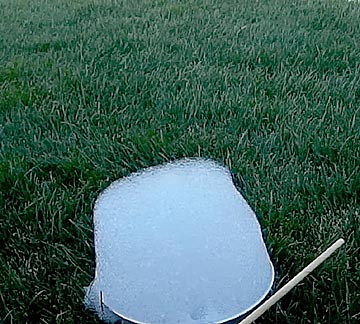
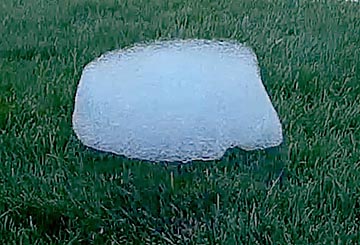
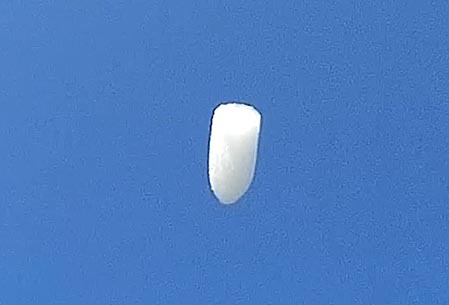
Open the main valve 1/4-turn and then push the fill valve down to release helium into the bubbler. A column of fine foam should start rising from the pan. Once it's a foot high, slice across it with a dry dowel to cut it free. The foam disk should rise gracefully into the sky!
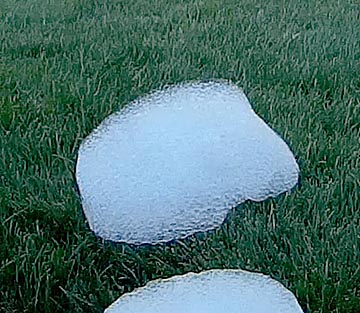
Another option is to let the column grow.

This one's three feet tall and looks like it has the head of a chicken.
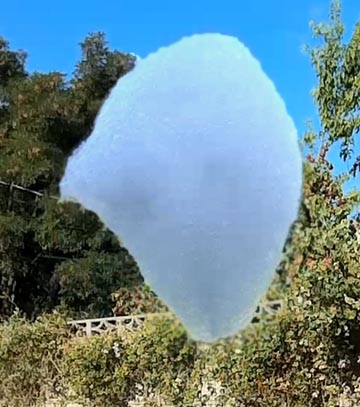
A second later the chicken's head broke loose!
I've tried
using stencils to create shapes, but at this small flogo machine size
they never worked.
If there's one problem with these DIY flogos, it's that they are expensive to make. A $20 tank only last five minutes or so. In spite of this they're always a hit when I fire the flogo machine up at family get togethers. The grandchildren love cutting them off and following their flight. One of the great things about flogos is that because the foam is so reflective and stable, they can be seen much farther away than regular soap bubbles and they last much, much longer. Most times, so long they disappear from sight before they dissipate.
DIY flogos are a lot of fun to make and watch. I hope you found this page helpful for making your own. Thank you for visiting!
If you'd like to see them in live action, please click on the following video:
As nice as this flogo machine is, it does take some time to make and it burns through a can of helium in short order. The following brief video shows how to make a floating foam generator in just a few minutes that uses much less helium:

Return to my main page to browse 60 other subjects