Simply dripping glow-in-the-dark ink into water can produce a wide variety of entertaining and beautiful patterns. Doodling with it is also amazing. These are great rainy-day activities for both children and adults. Here's how to do them:
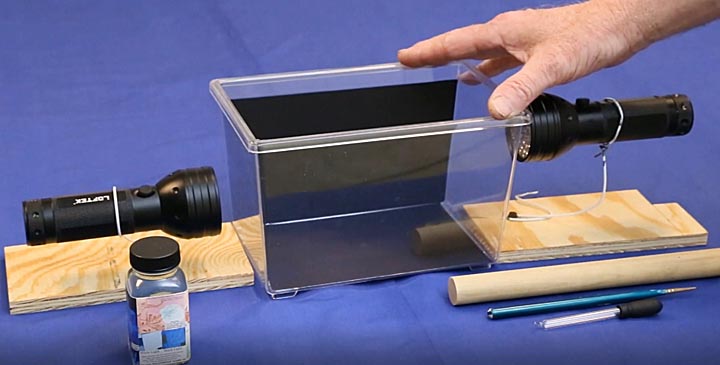
All that's needed is a black light (ultra violet) flashlight ($10 each from Amazon.com), a simple mount to hold them (I used scraps of wood and pieces of bent coat hanger) A plastic container ($5 from the Walmart the pet center) glow ink ($13 for Bulletproof invisible ink from Amazon.com) an eye dropper and a collection of sticks to introduce the ink into the water in various ways.
Lining the inside bottom and back of the container with something black prevents reflections that can make for confusing pictures. For a one-time use, construction paper and indoor/outdoor double faced tape works well. The glow ink is very bright so this activity doesn't need to be done in a dark room, though the darker it is the more spectacular the effect.
Fill the container with water, turn off the room lights, turn on the flashlights and here's what you'll get:
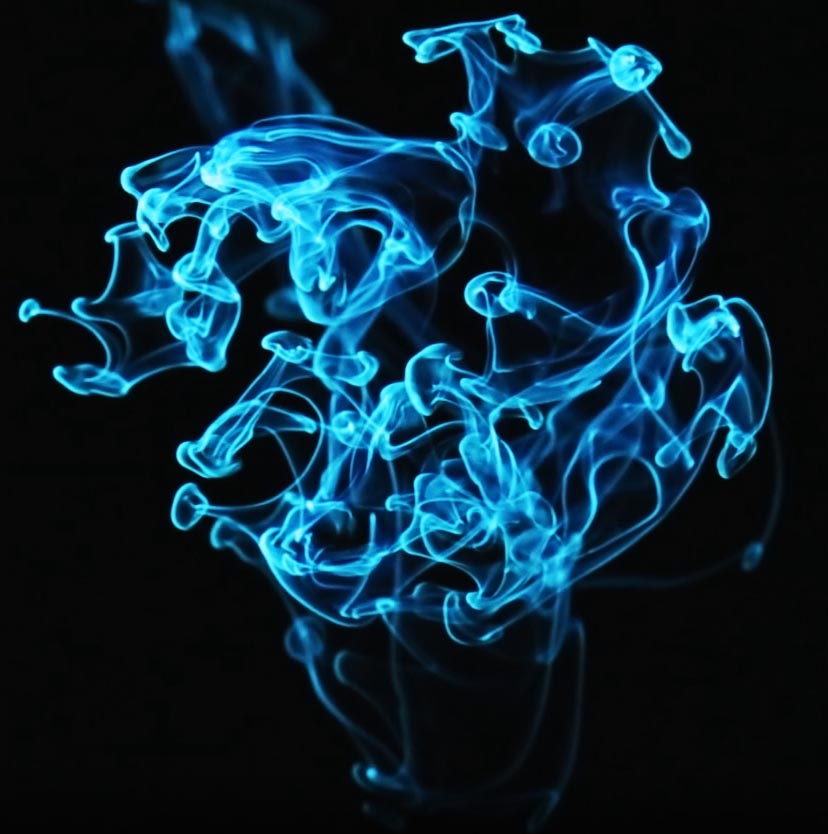
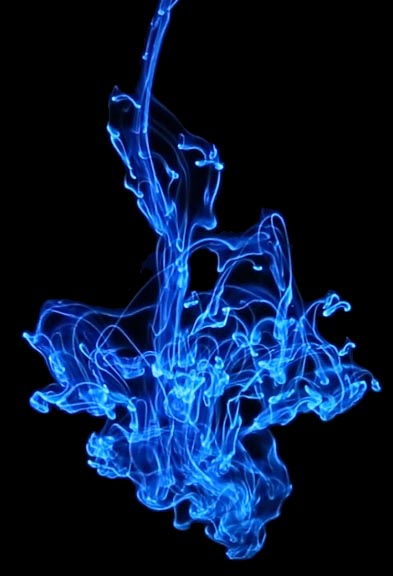
The image above shows what happens when the eye dropper is used to release a drop on the ink close to the surface. The drip splits in two: a fast moving initial glow ring followed by a slower moving, expanding cloud.
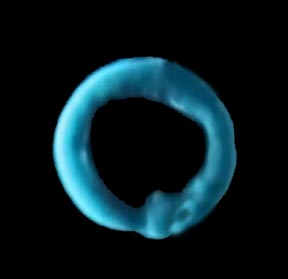
Viewing from overhead shows the true shape of the initial ring.
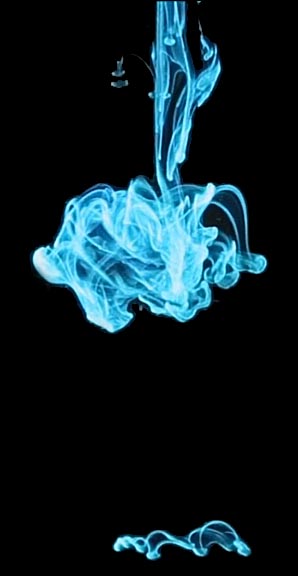
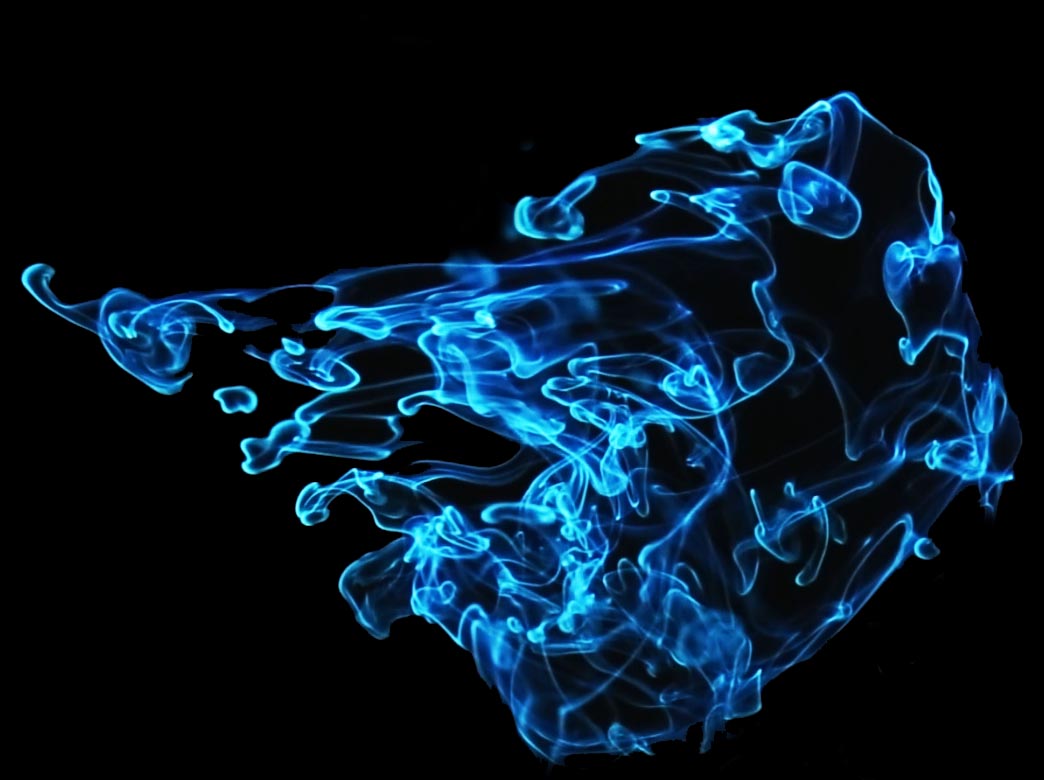
Releasing the drip several inches above the water produces clouds that look more like this:
It doesn't have a fast moving initial ring of ink because the hard impact of the ink on the water's surface shatters it. The color looks more blue because the camera's color balance was changed.
No two drips ever produce the same image. The following one was made with everything the same as in the last image:
Here's what happens when a full eye dropper full of ink is squirted straight down into the water all at once:
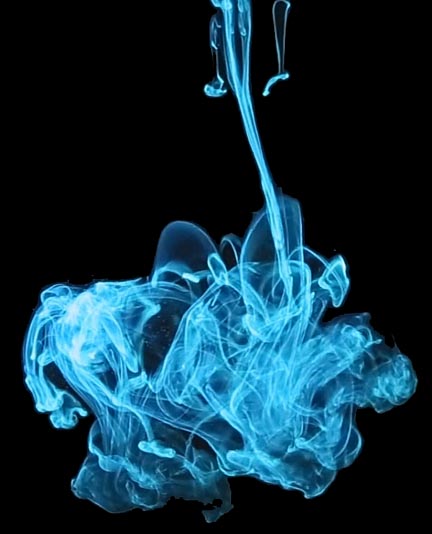
What these images fail to capture is the unbelievably complex, 3D flow patterns created in this activity.
For people with more artistic inclinations, the following may be more to their tastes: glow doodling:
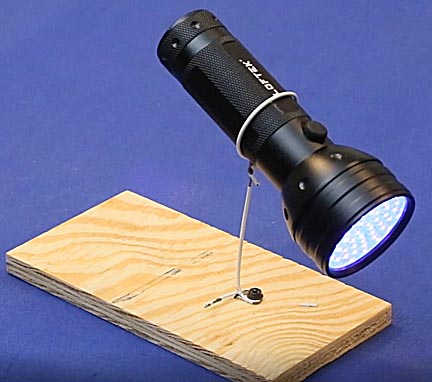
Mount an ultra violet flashlight on something that will point it down at a slight angle. Then, dip a fountain pen, paintbrush or, as in this case a glass dipping pen, into the ink and with the UV light on, proceed to doodle. The UV light makes the ink glow, turning simple doodling into something almost magical.
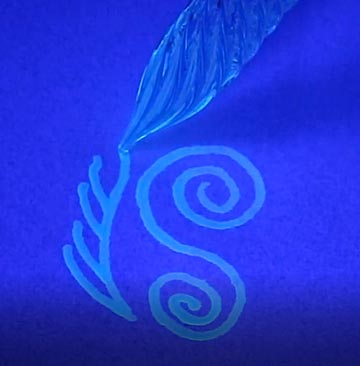
Plain white paper doesn't work very good because it reflects so much light that there isn't a lot of contrast between it and the glow ink.
Black paper increases contrast, but it tends to absorb the ink and hide it. Black construction paper is the worst.
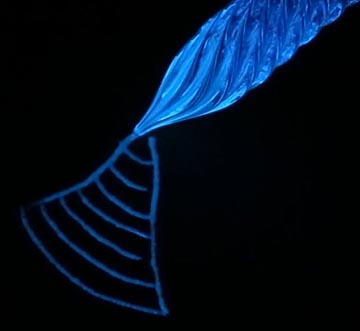
What's needed is a non-absorbent, flat black surface. I tried spraying a sheet of plastic with flat black paint and while it sort-of worked, even with flat paint the surface was so smooth the ink's surface tension caused it to pull in on itself creating lines of droplets rather than even lines. The solution was to sand the painted surface very lightly with 400 grit sandpaper. This gave it just enough texture for the ink to grab on to. As the following image shows, it worked great:
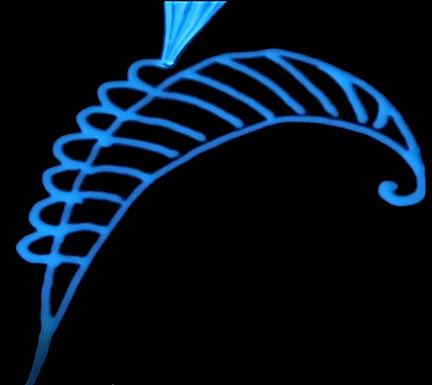
The flat black background provides the maximum amount of contrast, making the glowing ink seem of burn with blue fire. Glass dipping pens are perfect for this because they are easy to clean and more importantly, glow brilliantly while being used.
For live action demonstrations of both these activities, please click on the following links:

Return to my main page to browse 60 other subjects