Whether you call them singing pipes, singing tubes or their true name Rijke Tubes, these simple devices make great science demonstrations. They're just a metal tube with a piece of heavy screen wedged in a little above one end.
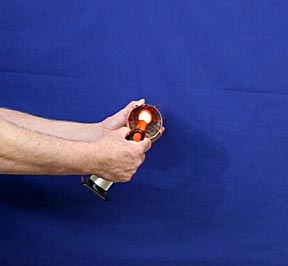
Heat the screen for a few seconds with a torch...
...turn the tube upright and it emits a loud hum for up to 30 seconds. Turn it sideways and the hum stops. Return it to upright and it starts again. Here's how to make one and an explanation of how they work:
Rijke tubes were invented in 1859 by Dr. P. L. Rijke, Professor of Physics at Leiden University, Netherlands. He was researching the source of loud tones emitted from some home heating flues.
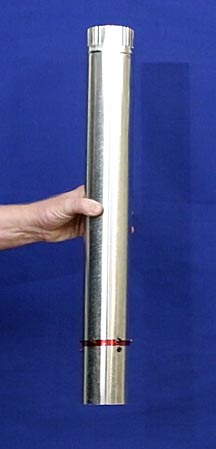
The most common size of singing tube uses an 18-inch long by 2-inch diameter piece of plumbing pipe. These can be expensive ($25) so for this example I'm using a much cheaper ($4) 24-inch long by 3-inch diameter sheet metal flue tubing.
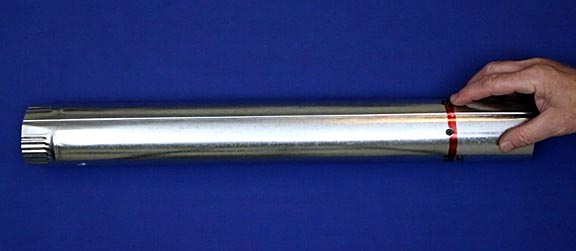
Drill screws in a ring around the tube approximately 5-inches up from one end. The exact position doesn't matter as long as it's around one-quarter the length of the tube from one end. These screws act as a platform on which screen disks will rest.
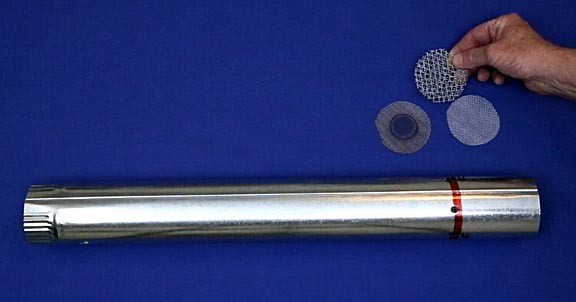
Cut three screen disks that fit snuggly into the tube. Twenty mesh stainless steel screen ($2 to $3 per 12 x 8-inch sheet from Amazon.com) works best. A good pair of tin snips will be needed to cut it. Aluminum window screen (lower right) can be used, but doesn't hold enough heat to maintain the tone very long and the center burns up after just a few uses. Hardware cloth (above, center) is hard to cut and lets so much air flow through it that it doesn't work well.
Stack the three disks and staple them together. This ensures that they all heat up. If spaces exist between them, the one getting hit first by the fire blocks heat from getting to the other two and the singing pipe's tone won't last as long.
After inserting the disks, drill more screws into the tube to hold them in place so they don't fall out.
Rijke tubes work by the air around the hot screen being heated and expanding, pushing air out of both ends of the tube when held vertically. The moving air's inertia carries it beyond the point of thermal expansion, creating a cell of low pressure. Outside air pressure quickly stops the motion and air rushes back into the tube to fill the low pressure zone. Cool air pulled into the pipe from the bottom contacts the hot screen and the process repeats, creating a resonant oscillation heard as a loud tone, who's frequency is determined by the tube's length: low for long tubes and high for short ones.
The process is very similar to that in valveless pulse jets.
Besides adding enough thermal mass to maintain the singing pipe's ability to produce sound as long as possible, multiple screens are needed to slow the natural draft of warm air up the tube. If this draft moves faster than the air movement associated with the heating expansion pulses, the pulses will be washed away before resonance can be achieved. Three layers of screen works the best in most designs: less and there's not enough restriction of the draft flow, more and there's too much restriction and the resonance is stalled because cool air can't get pulled into the pipe fast enough.
Singing pipes have been powered by electrically heated coils. While they work great, they can fall flat in demonstrations. The reason is that people are so used to seeing electricity create sound that as soon as they see the batteries and wires, they think, "So what?" It doesn't pack the 'wow' factor of using a torch as the heat source.
Rijke tubes make interesting science demonstrations when preformed by a professional, but because they involve the use of fire can't be recommended for school science experiments.
For a live action version of this page, please click on the following YouTube video:

Return to my main page to browse 60 other subjects