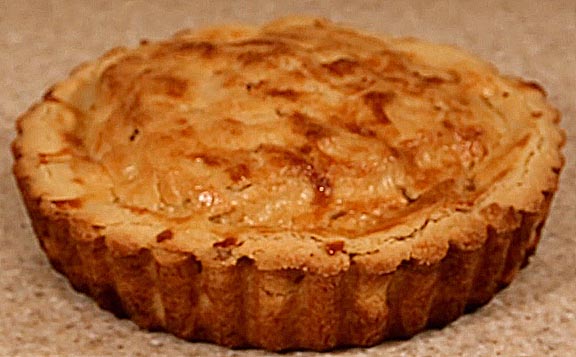
There's a good reason apple pie is the great American classic... it's delicious!
While some store-bought pies can be very good, the fact is few baking activities can equal the satisfaction of making a great pie at home. This page presents several techniques to help anyone wanting to make an apple pie from scratch. These hints and tricks are applicable to any recipe, so it's more about the basic method of pie making than a particular recipe. I hope you enjoy it.
The best apple pies start off with the best apples.
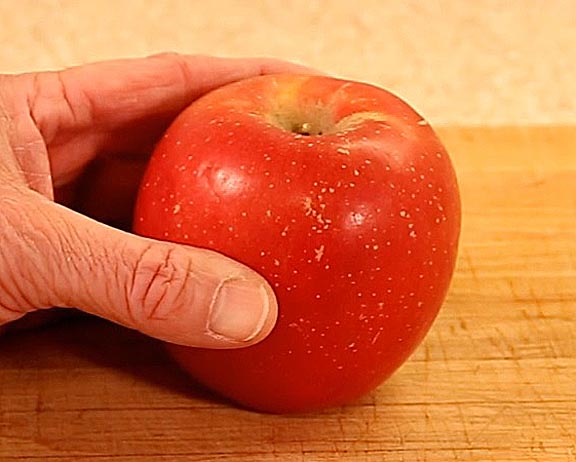
I've experimented with Macintosh, Gala, Jonathan, Jonagold, Granny Smith, Pippin, Red and Golden Delicious, Rome, Braeburn and several other apple varieties both individually and in combinations and the best tasting apple I've found is Fuji. It has the deepest, richest favor, holds its shape well when cooked and maintains a great texture. But, as with any apple, it's necessary to select only the ripest apples. For Fujis, look for apples that have the most amount of deep red, have no green showing at either end and any yellow areas should be deep and golden, not light yellow. Start with apples like these and half your task of turning out a great tasting pie are over.
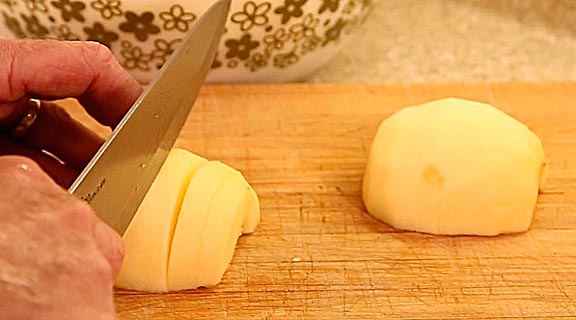
Peel and core five pounds of apples, then cut them into 1/4-inch thick slices. You should end up with four pounds of slices. Taste one piece from each apple to form an opinion on the average sweet vs acid balance. If they are very sweet then you may want to reduce the amount of sugar 20 to 40 grams. If overly tart, consider increasing the sugar by the same about.

Place all the apple pieces in your largest mixing bowl, toss them to coat evenly with 150 grams of sugar, place in a colander over a catch bowl and let them drain for two hours. The sugar will draw out much of the juice in the apples. Collect this.
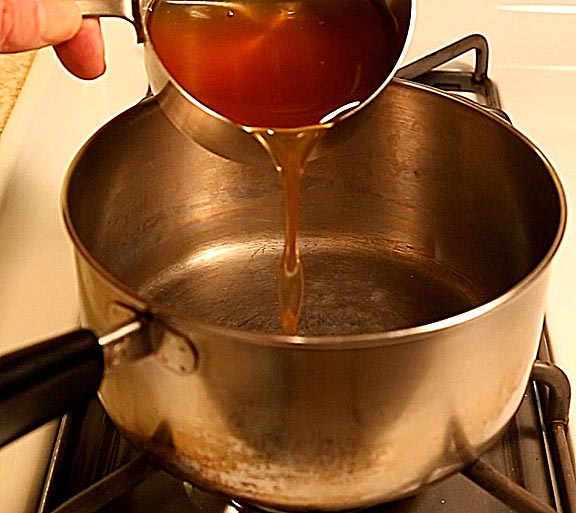
Four pounds of apple slices should yield one cup of richly flavored apple juice. Pour this into a heavy bottomed pan and simmer until it's reduced to a thick syrup. Once it starts to thicken it can burn very quickly so please se sure to watch it carefully.
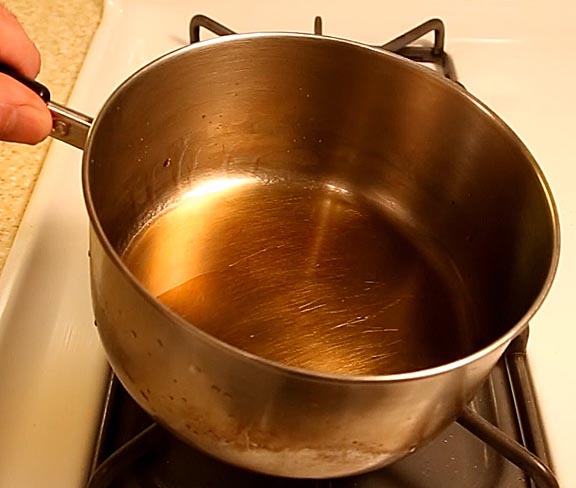
After ten minutes it should have reduced down to three tablespoons. Reducing this syrup eliminates much of the water than apples normally release during baking, which can make the bottom crust soggy. It also reduces the amount the apples cook down and in so doing eliminates the dreaded "pie dome," that hollow space between the top crust and the layer of apple filling.
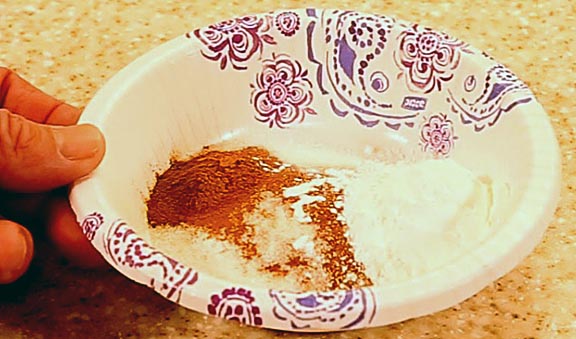
Combine 50 more grams of sugar, two too three tablespoons of cornstarch (depending on how thick you like to pie juices to be thickened) 3/8ths teaspoon of salt and one teaspoon of cinnamon. I prefer my apple pies to taste like apples so all I add is enough cinnamon to brighten the flavor a little. But by all means, use whatever spices and flavorings you like. Mix with a small whisk. Blending sugar into the cornstarch helps break it up and prevents clumping.
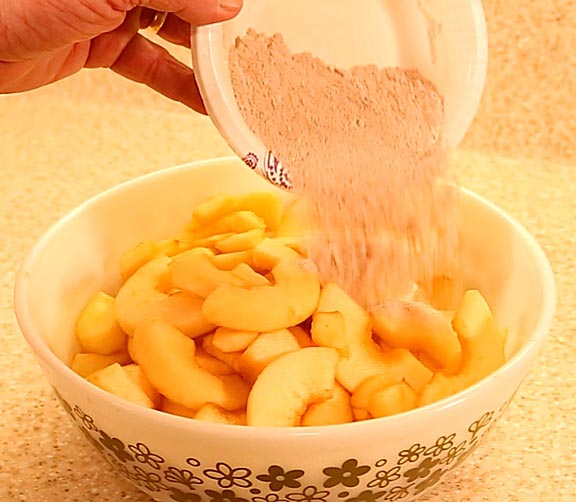
Sprinkle the spice mixture over the apples and toss to coat each piece evenly.
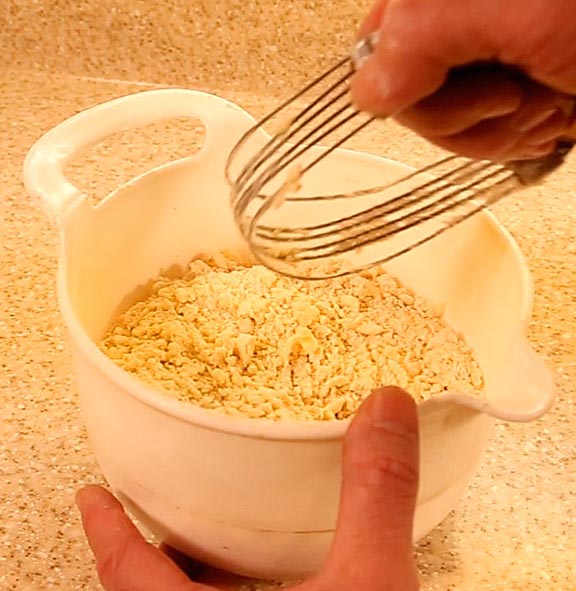
While I like flaky crusts, I prefer something a little finer and more delicate. For that I start with 450 grams of all purpose flour, 1/2 teaspoon of salt, 5 tablespoons of sugar and 240 grams of butter flavored Crisco. Blend these together with a pastry cutter until it's reduced to bean sized clumps.
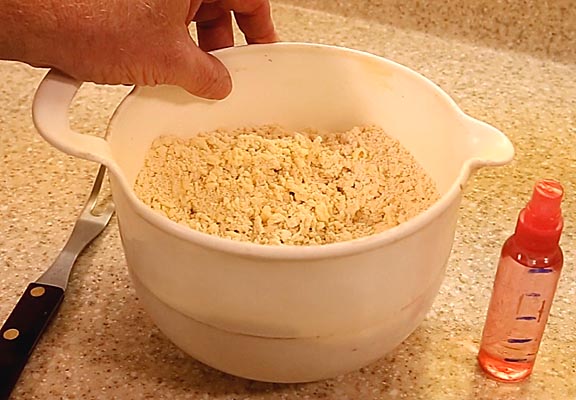
To help create a uniformly moistened dough, use a spritzer to slowly add water to the dry mix, stirring with a two pronged fork after every ten to twenty spritzes. Since Crisco doesn't have any water in it, more water is required than in butter based recipes because it's 17 to 20 percent water. Seven to nine tablespoons of water are usually needed for my recipe.
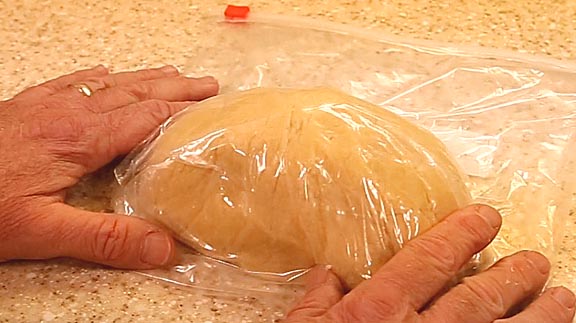
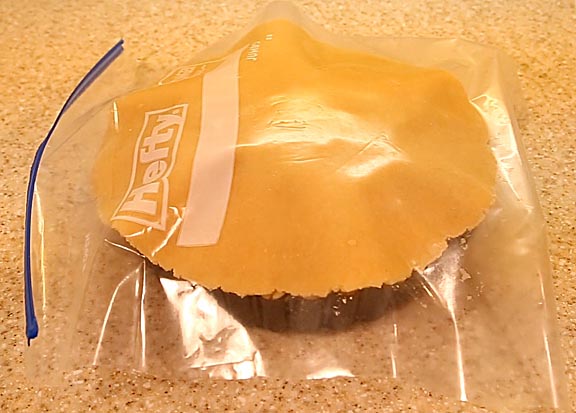
Wrap the dough in a plastic bag for half an hour to let all the flour grains have a chance to become hydrated.
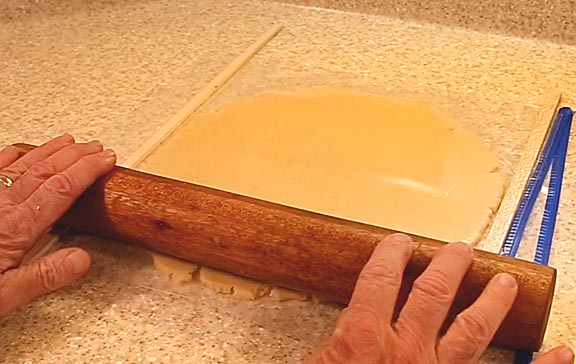
Form the rested dough into a brick and cut off one third. This will form the top crust. The larger portion is for the bottom crust. Roll it out between two sheets of plastic. I like using a two gallon plastic bag slit up the sides. Three-eighth inch thick rolling guides will ensure your dough comes out even.
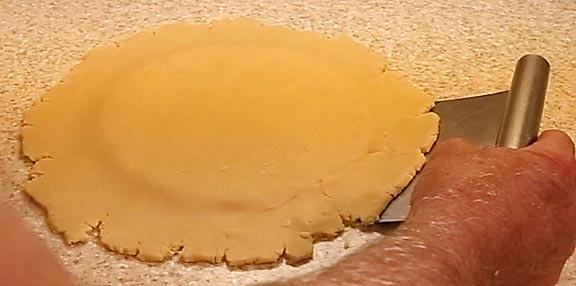
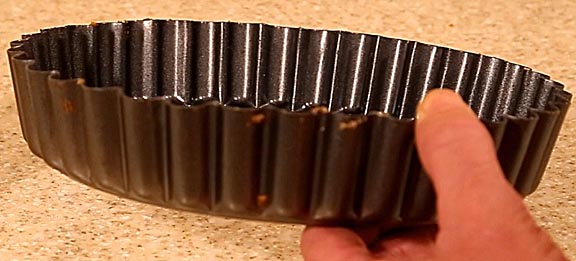
I suggest using a tart pan for baking apple pies because it makes depanning very easy. For a recipe using four pounds of apple slices, a nine inch diamter pan with two inch high sides works well. Center to tart pan's bottom on the larger piece of rolled out dough, flip it over using the plastic for support, peel the plastic off and gently fold the edges of the dough over so the bottom will fit into the tart pan's outer ring.

Using a pushing action, lift the sides of the dough and push them into the sides of the tart pan. level off the top and use any scraps to strengthen the corner of the pie. This ensures that nothing with leak out during baking.
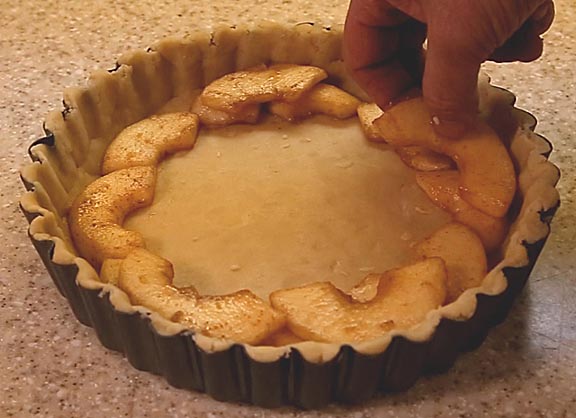
Instead of simply dumping all the apples into the crust, I like to spend a little time stacking them to create the maximum amount of density. Alternating the slices every layer like a brick wall helps tie all the pieces together so they don't spill out of the sides when a piece is cut when serving.
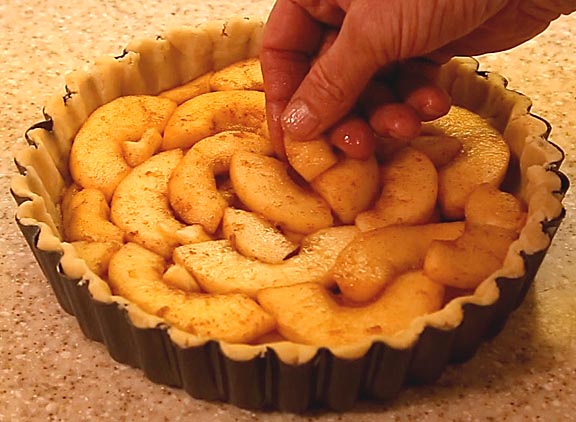
Once a layer is finished, break off small pieces of apple filling and use these to fill in any nooks and crannies.
As you get near the last of the apple pie filling, work away from the edges to create a dome.
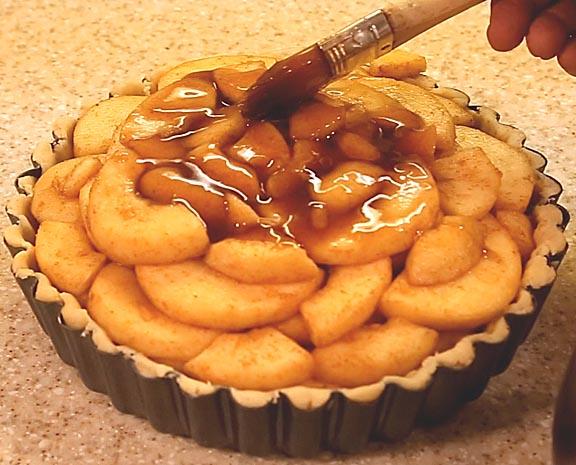
While making the pie dough, the apples may have given up some more apple juice. If so, reduce it as before, combine it with the first reduction and spread it over the top of the apples.
Flip the top crust over on top of the pie, using the plastic to support it and prevent cracking.
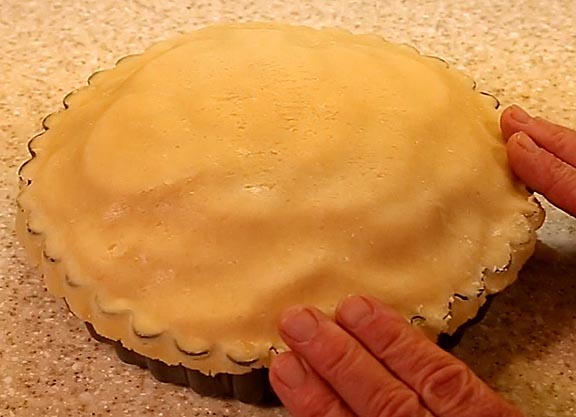
Peel the plastic off and firm the top crust down, sealing the edges and trimming off any excess.
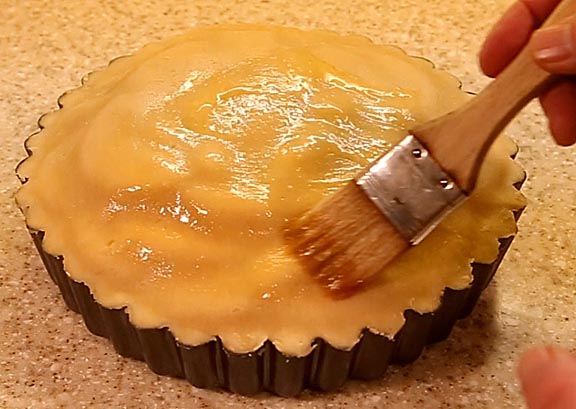
Paint the top with a little egg wash to create a shiny glaze. Be careful to stay away from the edges or you may glue the crust to the tart pan. You make sprinkle some large grained sugar on the pie at this time if you like.
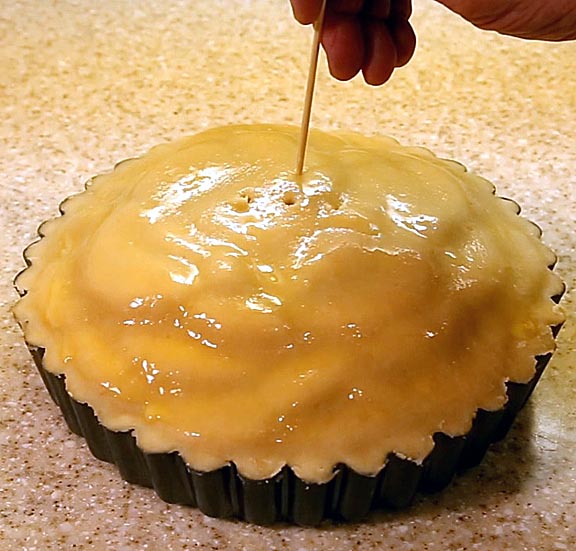
Poke or cut several holes in the top to let steam escape.
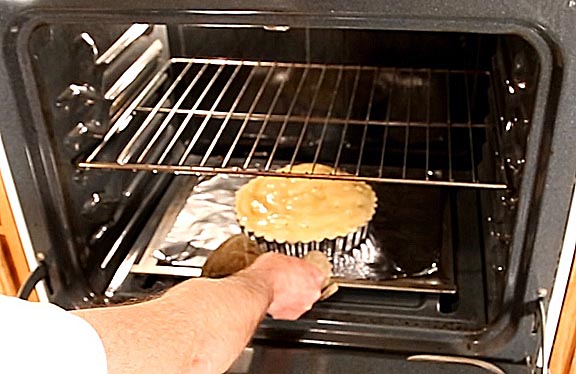
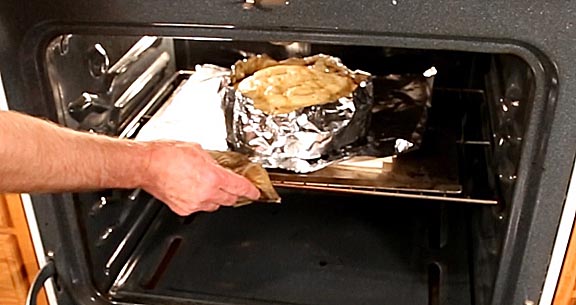
Place the pie on a baking sheet cover with foil on the very bottom of a preheated 425 degree oven for 20 to 30 minutes. This helps the bottom brown before juices from the baking apples have a chance to soak it and prevent proper browning.
Because the tart pan rests on its lower outer rim, heat quickly conducts into the corners and can over bake the bottom edge of the dough. To prevent this, I recommend supporting the tart pan on the bottom of the oven with three small pieces of fireproof tile.
Move the pie up to a middle rack and finish baking for another 25 minutes. Placing a ring of foil around the edge will prevent it from burning. How long the pie bakes is determined by how firm you like your apples to be. Baked to an internal temperature of 165 degrees leaves the apples slightly firm, 175 yields soft baked apples and 185 gives you something close to applesauce.
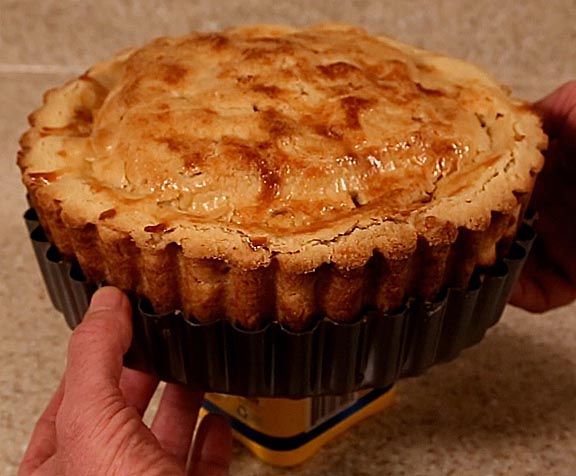
Remove the pie and let it cool on a rack for one hour. Place a stable support under it to hold the middle and slowly pull down on the side of the pan. It should come away cleanly.

Although it's still very warm, because the slices were stacked in alternating layers they will have locked together so that the pie can be cut and the filling will not pour out of the sides.

A homemade apple pie is as satisfying to make as it is to eat. I sincerely hope this page will help you experience these simple joys.
The following video shows the entire process:

Return to my main page to browse 60 other subjects