Kalliroscopes are thin flat chambers with transparent sides that show the beautiful complexity of fluid flow. They were invented in the 1960s by artist Paul Matisse, the grandson of the great French master Henri Matisse. Originals can cost thousands of dollars and even small, recently made versions can run into the hundreds. This page shows how easy it is to make one for as little as $20.
A kalliroscope is made by gluing two glass or Plexiglass disks to a waterproof ring, drilling a hole in the ring, filling it with rheoscopic fluid (fluid that shows currents in water) and sealing with a rubber cork. The inside ring from a plastic embroidery hoop is a convenient size for a kalliroscope.
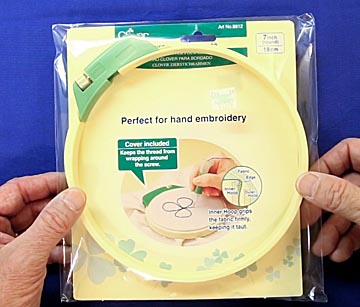
I found this one in Hobby Lobby for $14. It's better than any others I saw because it was significantly thicker.
Next I cut two Plexiglass disks slightly larger in diameter than the ring. (Plexiglass cuts very easily with a 21-toothed metal cutting blade.) You may be able to find already cut glass or plastic disks in craft stores or on-line.

Glue the disks to the hoop using silicone aquarium sealant. I only put glue on the outside so it couldn't ooze into the Kalliroscope and make the inner edge look sloppy. Drill a hole in the side of the ring that fits a small rubber cork.
Next, fill the chamber with rheoscopic fluid. This is water with a little powdered mica in it. The flat mica plates align themselves with fluid flows and because they are flat reflect light in certain directions. When two different flows are close to each other, the mica particles in one will reflect light in a different direction than the neighboring flow. One flow will look bright while the other will be dark, creating enough contrast to be able to see the different flows.
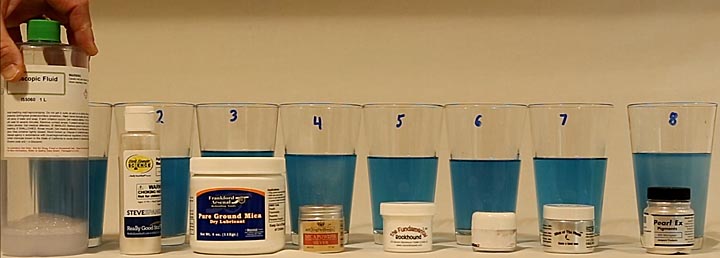
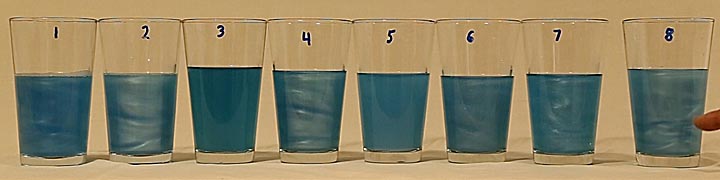
Pre-made rheoscopic fluid can be purchased from many sources, but it tends to be expensive, $30 per liter, and the ones I've tried didn't work very good. To find a cheaper, better alternative I tested eight different pre-made, concentrates and DIY powders to see which worked best.
For a video of the full test, please click on the following YouTube link:
The quick result is that #2, Steve Spangler's Pearl Swirl rheoscopic concentrate, $18.50 for 4 oz that makes 2 gallons, mixed at the rate of one teaspoon per cup of water was by far the best.
The kalliroscope described on this page requires two cups of rheoscopic fluid, so one bottle of the concentrate will make enough for 16. Adding one drop of liquid food color per cup of fluid greatly increases the contrast so the flow patterns are easier to see and much more attractive. I find blue works the best. Green is a close second. Lighter colors, pink, yellow, orange, don't show as much detail. Also, for some reason pink and red tend to turn orange after a few hours.
Fill the scope to overflowing with the rheoscopic fluid, trying to get out any air bubbles. Plug the hole with the cork and you're done!
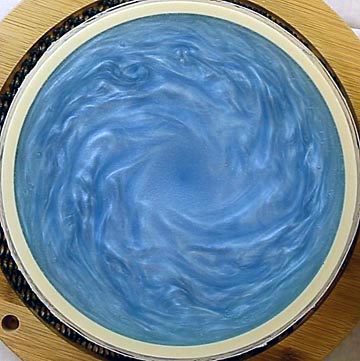
The best way to use a kalliroscope is to place it on a Lazy Susan turn table. This lets it be rotated very rapidly, stopped and even reverse its direction to create stunning flow patterns. Here are a few examples.
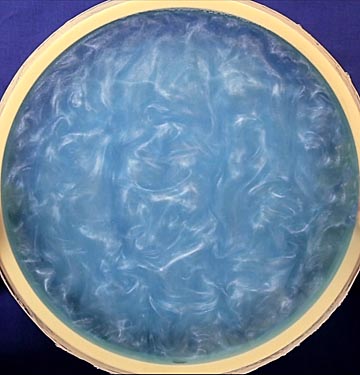
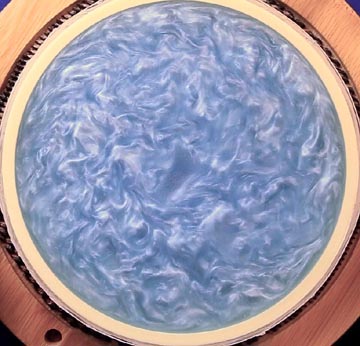
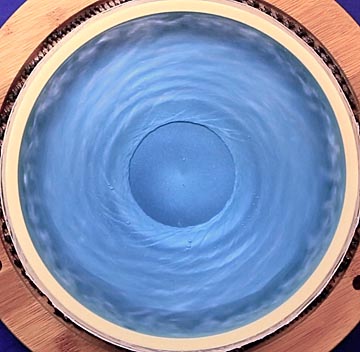
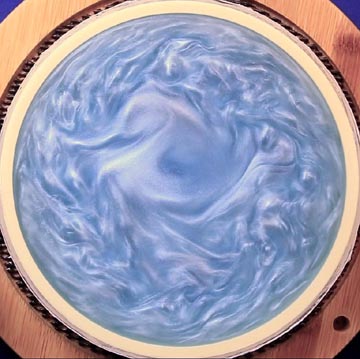
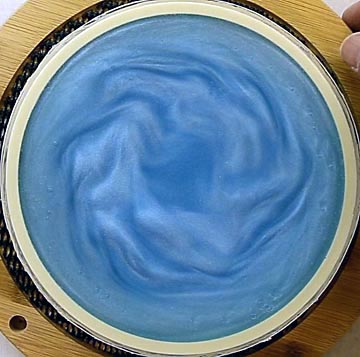
What these still images can't capture is the incrediably complex flowing patterns that undulate in hypnotic patterns.
Making kalliroscopes is interesting, easy and inexpensive. Give them a try and I think you'll agree. For a live action version of this page, please click on the following:

Return to my main page to browse 60 other subjects