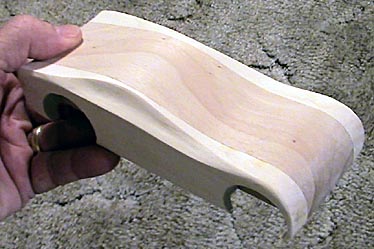
Full-bodied pinewood derby cars are great attention getters, but they tend to be slow because they move the center of mass forward, away from the rear wheels. In doing so they reduce the amount of energy available to accelerate the car. This problem can be almost completely eliminated by hollowing out the car's body. Warning! This process uses razor sharp, high power tools and should only be attempted with adult supervision and while wearing the appropriate protective equipment.
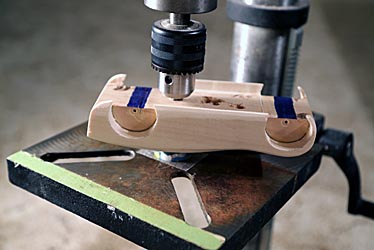
The first step is to chuck a two-fluted router bit in a drill press geared for maximum speed. Single-fluted carbide bits may be sharper but their single blade causes more vibration than two-fluted bits. Mount half of a hard rubber ball under the bit. This serves as the base on which the car will rest. Hard rubber balls provide firm support and will not scratch or dent the car's surface. I use what used to be called a superball, the balls that feel very hard and bounce extremely high.

Use a 1/8th inch thick piece of wood to set the drill press's stop so that it won't drill any deeper. This ensures that it won't drill through the surface of the car.
Place the car upside down on the rubber ball and start drilling out the body. Tilting the car so that the car's surface that's in contact with the rubber ball is always horizontal prevents punching through the side of sharp curves. This means that at times the surface into which the router bit drills will be at an odd angle. Be sure to keep a tight grip on the car. The router bit's running much slower than it's designed for and creates a lot of chattering that can shake the car out of your hand.
Once most the car's body has been drilled out, use needle nosed pliers to break off sections of standing wood. This is quicker than trying to drill everything out.
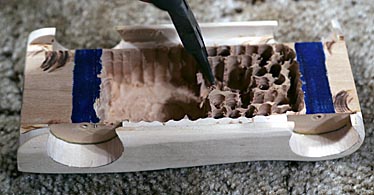
Be careful to only remove wood that breaks away easily. Large thick sections may pull so much would away with them that the surface of the car is breached. If this happens, fill it in from the inside with epoxy putty after the hollowing process is complete and sand it smooth.
Once the car's hollowed out as much as possible using these techniques, use a Dremel tool with a 120 grit sanding cylinder to smooth the bottom of your excavation and reduce the side thickness.
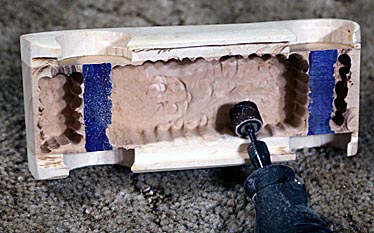
I prefer 120 grit over 80 grit because it gives more control.
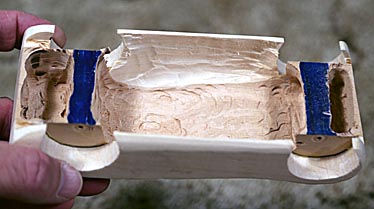
The entire process takes between 30 minutes to one hour depending on how much work is put into making the shell as thin as possible. In the example above, the body's weigh was reduced from 4.5 ounces to 1.3 ounces. All that weight was then added back in as a lead weight near the rear wheels where it helped make the car run faster.
Here's the final result. I call it...
The Marauder
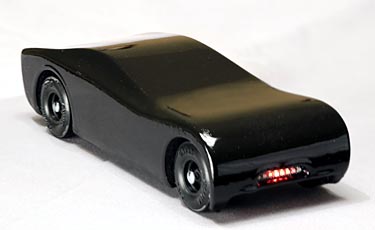
With run times of 3.147 seconds on my 42-foot aluminum track it's far from the fastest car in my collection, but it makes up for it by being one of the best looking.
The following video shows the entire process and how good the LED scanner in the car's nose looks:

Return to my main page to browse 60 other subjects