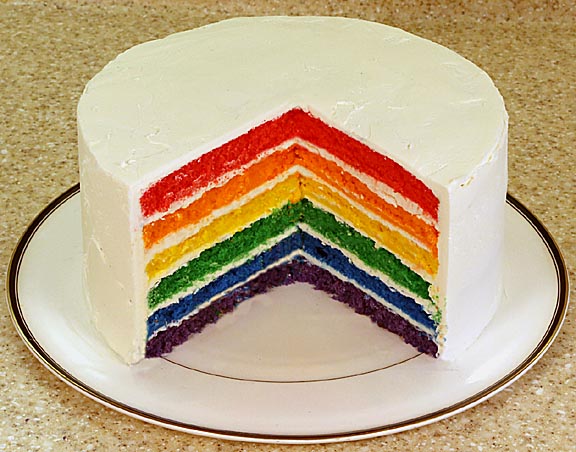
Whether you're eight years old or eighty, the site of the first slice from a rainbow cake is sure to make you smile. This web page explains how easy it is to make one of these colorful delights.
To make a rainbow cake that tastes as good as it looks, I recommend starting with a top quality cake mix and modify it to create a dessert that people will relish. Here's how.
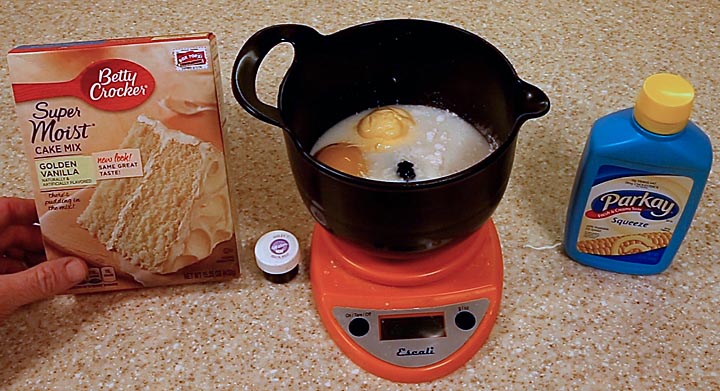
Tastes tests of dozens of homemade cakes and boxed mixes proved to me that with a little doctoring, the best boxed mixes produce results that surpass all other recipes. The best vanilla cake I found starts with Betty Crocker's Golden Vanilla cake mix and replaces the water and oil with whole milk and Squeeze Parkay margarine. The resulting cake is wonderfully moist with a rich, deep flavor that's strong enough to stand up to the sweetest frostings. Because this mix contains emulsifiers and wetting agents not available to the home baker, no premixing is required. Simply dump all the ingredients into the bowl and mix one minute on high until smooth.
To ensure each layer is the same thickness, measuring accuracy is important. The easiest way to do this is to use a scale set to grams and weigh the ingredients into the bowl. For a ten-inch diameter pan, I found 154 grams of cake mix, which is conveniently one-third of a box, one large egg, 33 grams of Squeeze Parkay, and 92 grams of whole milk produces a layer that's a perfect three-quarters of an inch thick. Another advantage to weighing ingredients straight into the bowl is that it eliminates have to wash a lot of measuring cups. Color each layer by adding one-quarter teaspoon of gel type food coloring. I found the Wilton brand works good. Liquid food coloring doesn't have the intensity required for the brilliant, clean colors a rainbow cake should have.
Before going any further, I'd like to make a comment about the use of Squeeze Parkay. As a margarine I don't think it tastes very good. But, as a cake additive I've learned that the taste of the resulting cake is much better than using either butter, other margarines or butter flavored Crisco. There's something about how it reacts with the other ingredients or the heat of baking that makes it work better than any other oil substitute. Try it. I think you'll like it.
Once the batter is mixed, pour it into a ten inch diameter cake pan lined with parchment paper. It isn't necessay to coat the pan with oil to prevent sticking. The cake will naturally pull away from the sides of the pan when it's done. The pan should also have a well soaked cloth baking strip around the edge to prevent the edges from baking so quickly they don't raise properly. These can be found in almost any baking store and many craft stores.
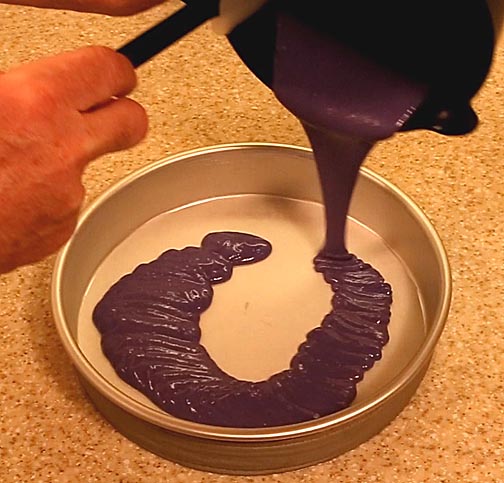
Pour the batter in as a ring so that it doesn't mound up in the center. Use a spreading utensil to tease the batter to the edges by using a short, fast, side-to-side shaking motion. Avoid long strokes. These tend to drag the batter and parchment paper around rather than spread the batter. Once that's done, it's time to slam the cake.
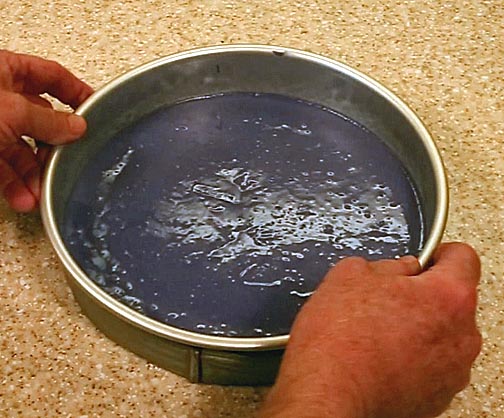
No matter how carefully the spreading utensil is used, the surface of the batter will always have some hills and valleys which, after baking, will result in an uneven layer. Pick up the cake pan six inches and firmly slam it straight down on the counter half a dozen times. This levels the batter and pops any large bubbles, which can expand during baking into voids.
Getting a level batter is important for getting a flat layer of cake. Unfortunately, it's not enough.
Even with a baking strip, the edges will bake faster than the center. They're not going to have enough time to rise as much, which results in a layer with a dome. Most rainbow cake recipes call for trimming off this dome. The problem is that this removes the layer's baked skin with the result that frosting the top creates a nightmare of a crumb problem. A much easier technique is to bake the layer so it comes out flat.

To do so the batter needs to be shaped so that the edges are a little thicker than the middle. Then, when the middle raises higher, the two effects counteract each other. To do so, trap one side of the cake pan between the widely spread fingers of one hand and use the other hand to give the pan a slight spin. Doing this four or five time is all that's needed to put the right curvature on the batter. Place in a 350 degree oven for ten minutes and the layer is done.
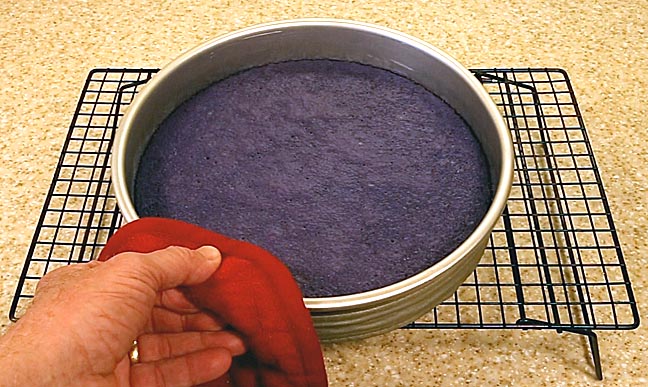
As this image shows, layers baked using the slam-and-spin technique come out beautifully flat.
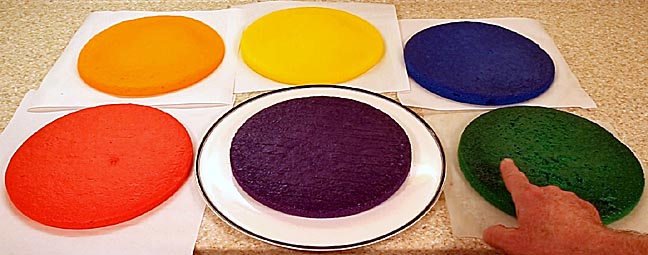
Repeat this process six times with violet food coloring (1/4-teaspoon of violet coloring results in a royal purple layer) blue, green, yellow, orange and red. I prefer baking the layers one at a time because they bake more evenly. Baking side-by-side can result in wedge-shaped layers.
Once the layers are cool, any small high areas can be removed by lightly pressing down on them with the flat of a hand. Any that are wedge shaped can be compensated for by placing the low end of one layer over the high end of the previous layer.
While the layers are cooling, prepare the frosting.

My favorite frosting is one tub of Duncan Hines Classic Vanilla frosting beaten with one stick of salted butter. The butter cuts the sweetness of the frosting and adds a great depth of flavor. This is the best frosting I've ever tasted. Because this is a large cake, figure on needing four tubs of frosting and four sticks of butter. If that sounds like a lot, this is going to be a large cake that will easily serve 14 people.
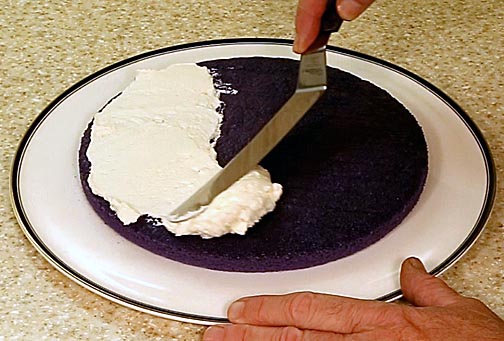
Start assembling the cake by placing the purple layer on a cake platter and covering it with a thin layer of frosting. Pushing down with an angled frosting knife helps prevent tearing the layer's surface. Level the frosting to compensate for any irregularities in the layer's surface. It's important to do this with every layer because with six layers problems tend to build up.
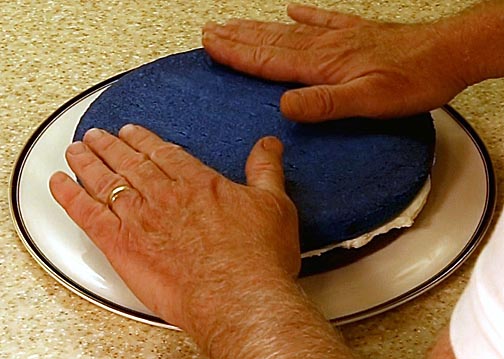
Place the blue layer next, frost and follow with the green, yellow, orange and red layers.
If everything has gone right, the cake should be ready for frosting. But, sometimes layers shrink more than others creating an uneven side or the layers may not have been properly centered. Either way, the side of the cake can end up too uneven to hide with frosting. If that happens, freeze the cake for a hour and use a sharp, serrated knife to trim the high spots off the sides. Place it back in the freezer for half an hour to firm it back up, dust any crumbs off the sides using a pastry brush, apply a light crumb coat of the frosting and refreeze for another half hour. Remove, apply the final layer of frosting and it should look something like the following:
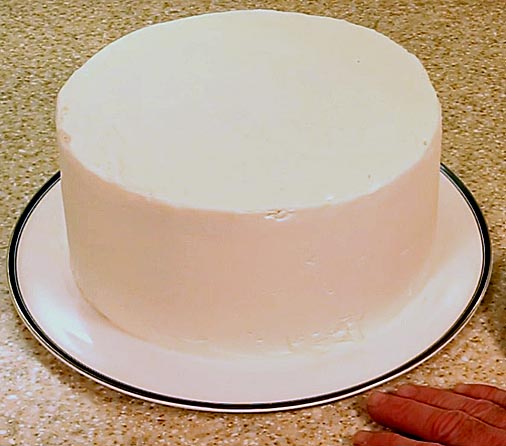
I never decorate the outsides of my rainbow cakes. I don't want anything to draw the eye away from the visual impact of that great burst of color when the first slice is cut.
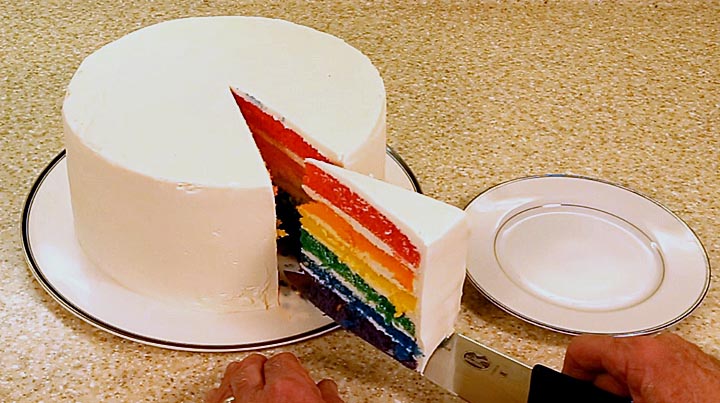
The contrast between the plain white exterior and the brilliantly colored rainbow interior is nothing short of stunning.
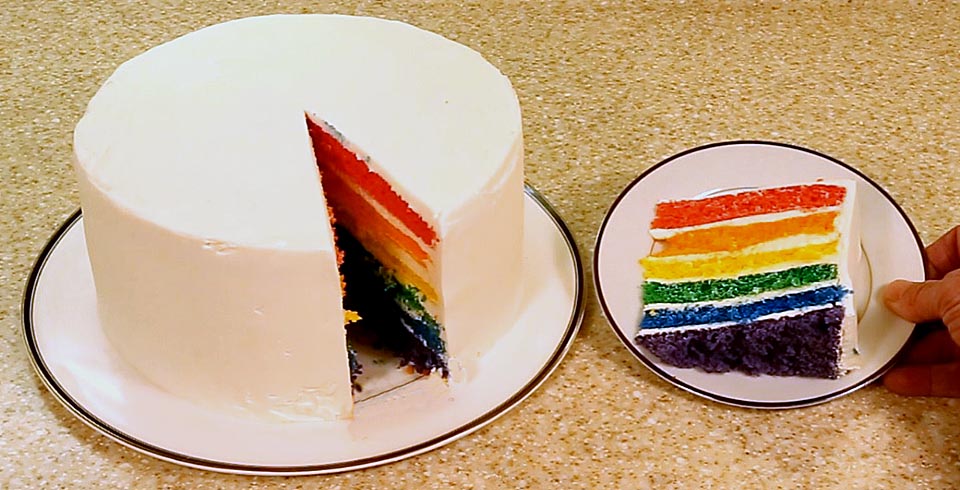
The colors of this rainbow cake are so glorious that even people who don't have a piece will enjoy it simply by looking at it. Please try this cake, I'm certain you and your guests will love it.
The following video shows everything that's on this page and provides a better idea of the slam-and-spin technique for making the layers of a rainbowcake come out flat.

Return to my main page to browse 60 other subjects