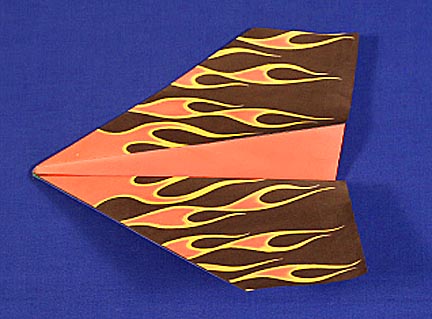
Creating colorful paper airplanes like the example above is quick and easy using the simple guidelines on this page.
Folding paper airplanes is an interesting and inexpensive hobby for both children and adults.
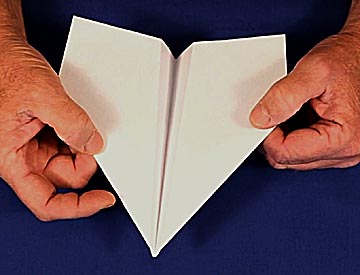
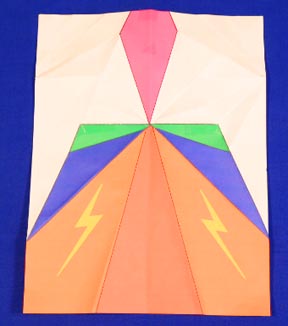
The only problem is that all those white-on-white fliers can get a little boring in the visual department. Coloring with crayons of felt pens is slow and doesn't produce uniform results. To create colorful designs on a computer, simply fold your favorite paper airplane. Then unfold it, use a black marker and ruler to trace over the folds that define the zones that can be seen after the plane is refolded and scan it to make an image file.
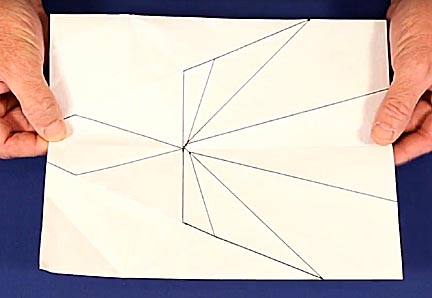
Using the image processing software of your choice, adjust the brightness and contrast settings to eliminate any shadows the scanner might have picked up from the folds and fill in any broken lines.
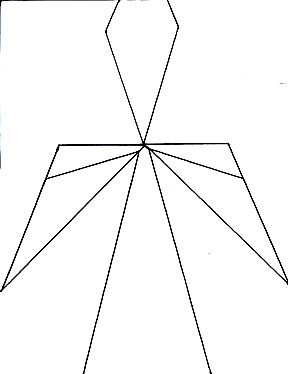
And that's it! You now have a coloring guide that can be used to print as many color patterns of that design you want. For example, in the following image the paint bucket tool was used to fill in the tops of the wings as well as areas on the undersides that will show after folding.
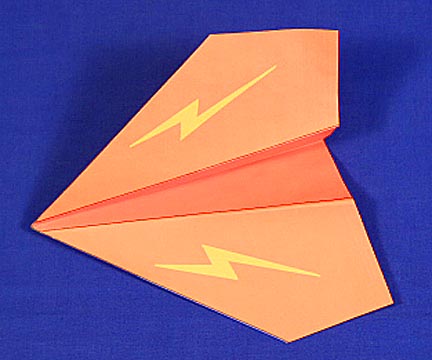
More entertaining shapes such as flames, happy faces or the lightning bolts used here can be added anywhere. I created a page of various shapes, which I transfer to onto the design using copy-and-paste.
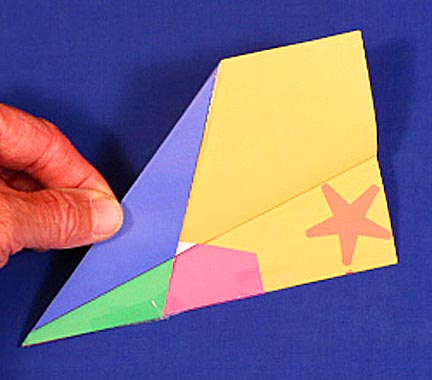
After folding, the result is an eye-catching paper airplane with color both top...
... and bottom.
A separate line template has to to be made for each aircraft design, but once that's done an endless number of planes can be printed out each with a different color pattern. Try this easy technique and whether your doing it for your child, grandchild or yourself you'll have a lot of fun.

Return to my main page to browse 60 other subjects