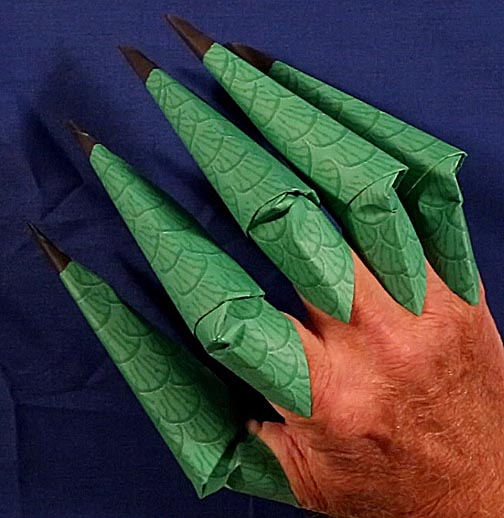
Children of
all ages love folding origami claws. This page explains how to print patterns
that enable
them to make colored claws like "The Creature From The Black Lagoon"
above.
In 2016, children all across America embraced the fad of making origami claws.

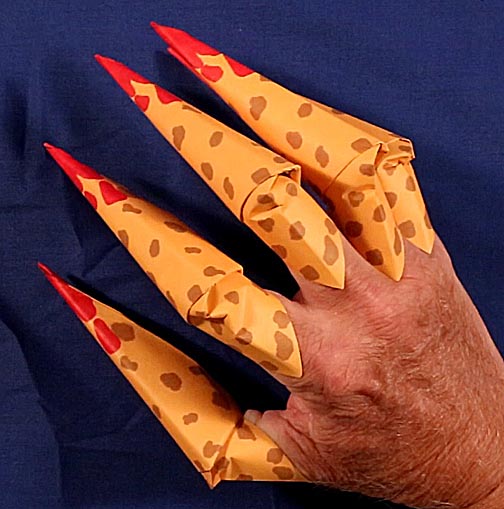
Crayons or felt pens can be used to color them, but the results are uneven. A much better option is to print out designs, which when folded produce claws like The Creature From The Black Lagoon already shown above or the ever-popular zombie claws...
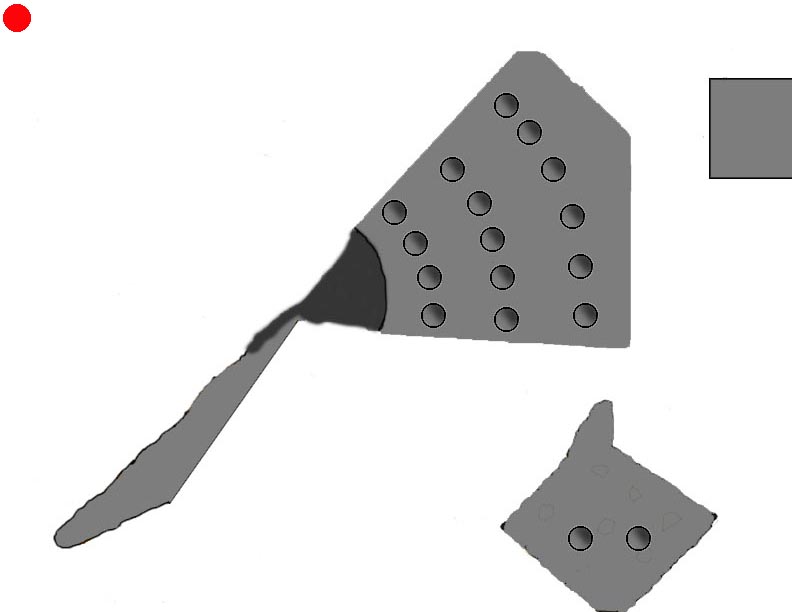
... or the claws of Zork: The Evil Robot King:
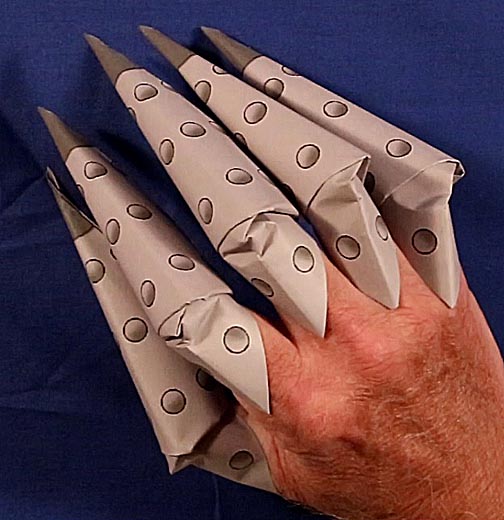
Here's how to do it:
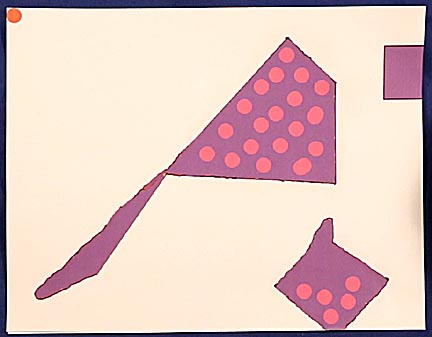
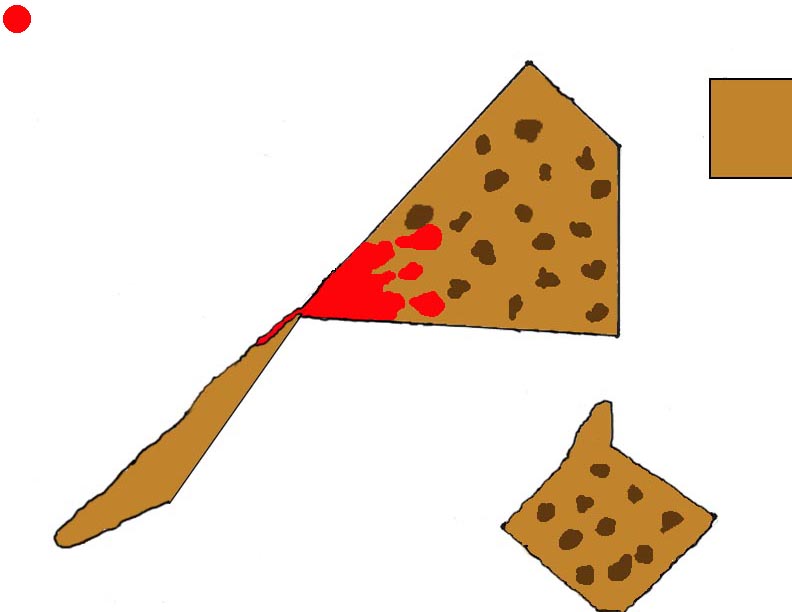
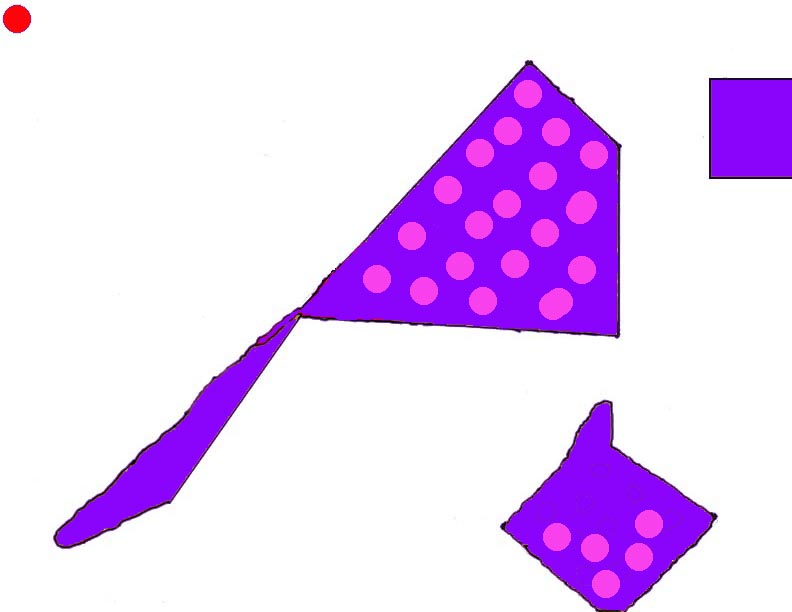
Let's take a look at Zork. The following image shows what the printed pattern looks like.
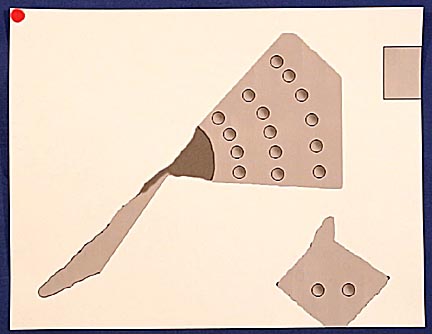
Its odd shape is designed so that only the areas that show are printed to avoid wasting ink. The main triangular area is the top, sides and bottom of the claw. The diamond shaped block with the two rivet heads is the area that covers the knuckle. The other areas cover the edges of folds that would show up as white lines if they weren't colored. The red dot in the upper left corner is an index mark to help position the paper for folding so the claw comes out with the printed areas where they belong.
Full-sized images of the four patterns on this page are provided farther down the page for cpoying and printing.
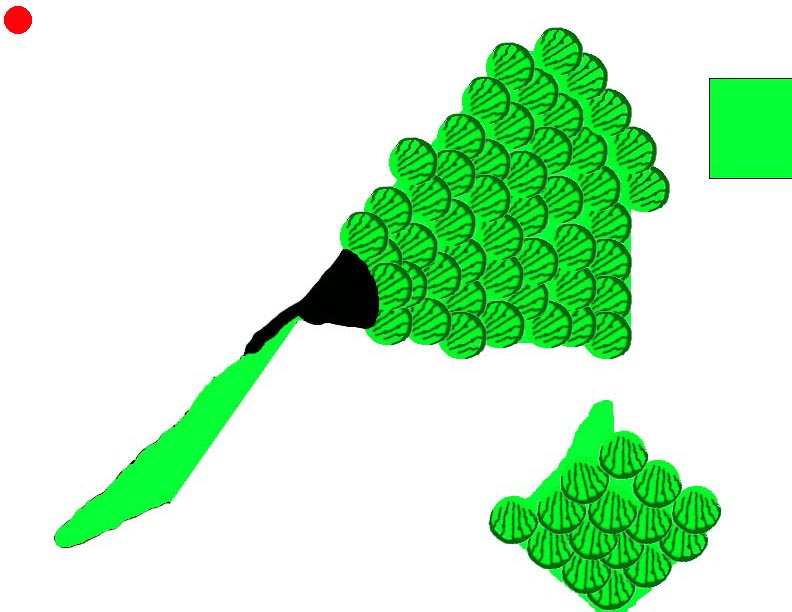
But let's say you don't like any of these designs. No problem! After copying one of them and opening it in the image processing software of your choice, use a magic wand tool to select all the white area, then use 'invert' so that the colored areas are now selected. Next, use the paint bucket tool to fill in the colored areas and paint brushes to add details as desired. Using these techniques turned Zork above into the following:
... which I call The Purple People Eater, after the classic song of the same title.
Once you have printed a pattern out, here's how to fold it:
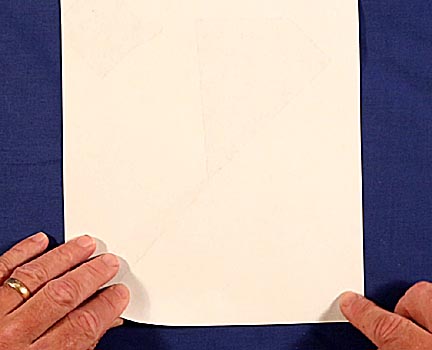
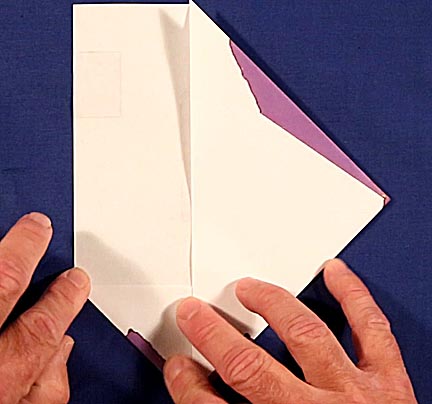
Place is printed side down with the red index dot in the lower right corner.
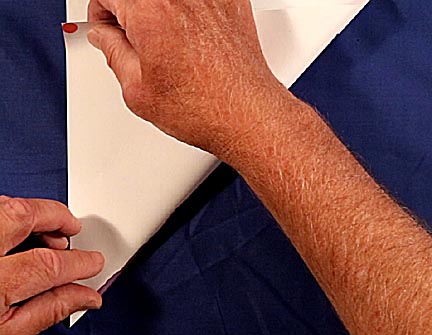
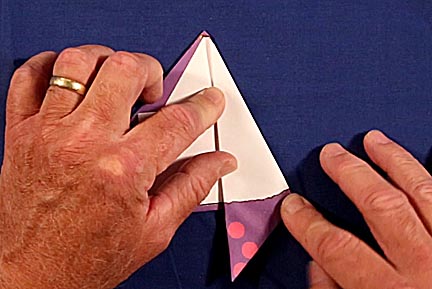
Bring that corner up and lay it along the left edge of the paper and crease the folded edge down. Avoid super-tight creases. A little softness to them makes getting fingers into the claws easier.
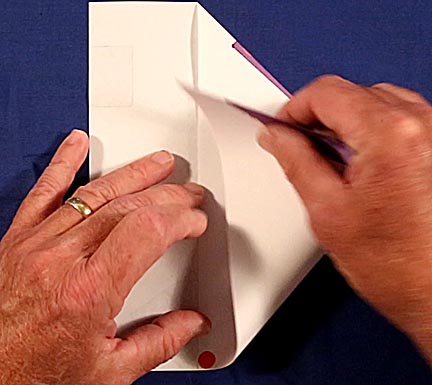
Turn the paper sideways and bring the lower left corner in the previous image, the corner being held down by my left hand, up and place it on top of the forty-five degree angle formed by the first fold.
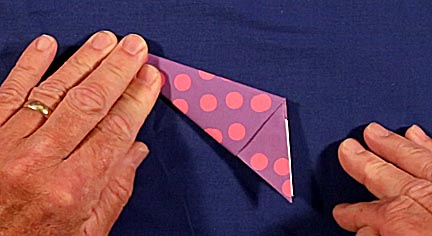
Press the edge down. The paper should now have a fat point pointing to the right. Fold the lower left corner up and over to form a forty-five degree angle.
Do the same for the top.
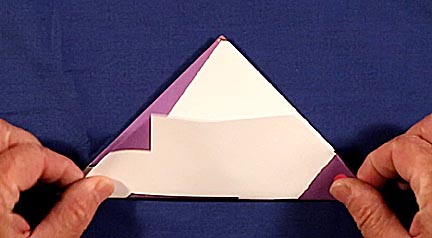
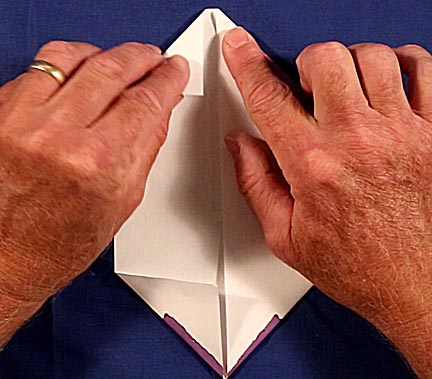
Rotate the paper so the point points upward and fold the lower trapezoid upward.
Fold the triangle in half then unfold it. This creates a reference line for the next fold.
Fold the right edge over so it runs down the reference fold.

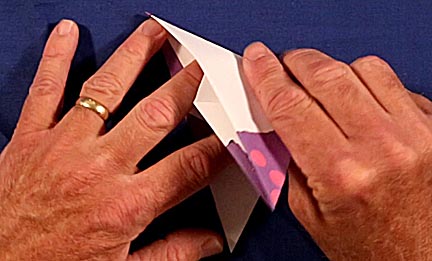
Fold the same piece over again...
... and one last time.
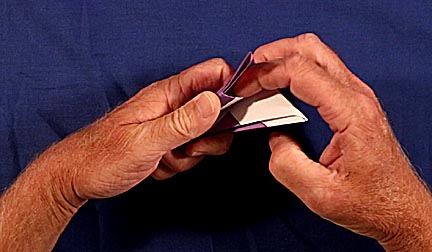
Pick it up, open the pocket on the end...

... and stuff the tab with no printing on it into it. Your done!
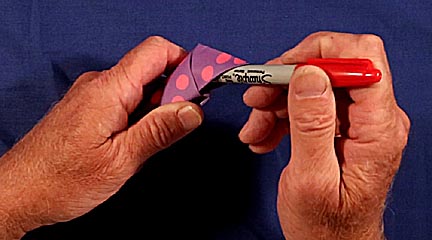
Using something round helps open the pocket into which a finger is to be inserted. Make four more and you'll have your very own...
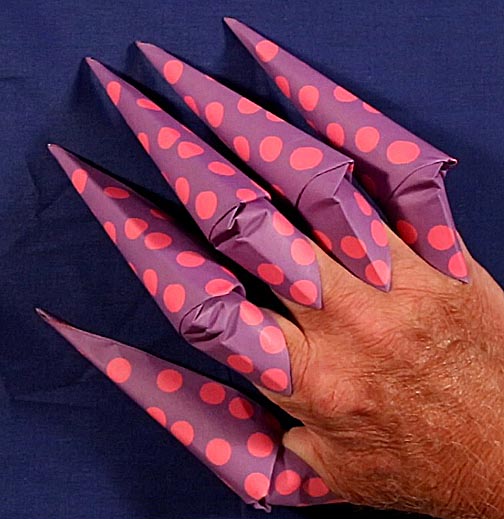
... Purple People Eater hand!
Printing a
stack of different designs and letting children fold them up is a
great party activity. Try it and I'm sure everyone will have a great time.
The following large images are the patterns for the four origami claw designs shown on this page. It may be necessary to resize them to 8.5 x 11 inches depending on how they are copied.
The following video provides additional details and may help explain the folding process better.
If you are an adult who's looking for a less childish activity for yourself, how about this?

Return to my main page to browse 60 other subjects